モチベーションと目標
前回は,Unityで自分のGLSL ShaderをPrimitive(球体)に適用しました.今回は,そのUnityプロジェクトを拡張し,Shaderはそのままに『Unityにもともと用意されているPrimitivesとは別に独自にポリゴンメッシュを作成する』ことが目標です.
Unity独自の仕様を理解する
自分で書いたC#スクリプトに,ポリゴンメッシュがどう処理されるべきかを記述できる様子.ということで,空っぽのメッシュを作成した上で,スクリプトを記述することで矩形を描画させるようにする.
何もない矩形を生成するC#スクリプトを実装
HierarchyのSimpleScene内で右クリックしCreate Emptyを作成- ゲームが始まると同時に矩形を生成するためOnlineMeshという名前に
- OnlineMeshを選択し
Inspectorタブを表示させ,一番下にあるAdd ComponentからNew Scriptによりスクリプトを追加- メッシュを扱うのでmyMeshという名前に
- myMeshをダブルクリックしてVisual Studioで編集(続くC#コードを参照)
- myMeshと同様に
Mesh FilterとMesh Rendererも追加 - 前回同様,シェーダをドラッグ&ドロップでOnlineMeshに適用
- 最後に,再生ボタンで実行
using System.Collections;
using System.Collections.Generic;
using UnityEngine;

public class myMesh : MonoBehaviour
{
    public Texture2D texture;

    // Start is called before the first frame update
    void Start()
    {
        MeshFilter mf = GetComponent<MeshFilter>();
        Mesh mesh = new Mesh();
        mf.mesh = mesh;

        Vector3[] vertices = new Vector3[4];
        vertices[0] = new Vector3(0.0f, 0.0f, 0.0f);
        vertices[1] = new Vector3(1.0f, 0.0f, 0.0f);
        vertices[2] = new Vector3(0.0f, 1.0f, 0.0f);
        vertices[3] = new Vector3(1.0f, 1.0f, 0.0f);
        mesh.vertices = vertices;

        int[] indices = new int[6];
        indices[0] = 0; indices[1] = 2; indices[2] = 1;
        indices[3] = 2; indices[4] = 3; indices[5] = 1;
        mesh.triangles = indices;
    }

    // Update is called once per frame
    void Update()
    {

    }
}
ちなみに,Sceneタブ内には再生ボタンを押すまでは矩形は表示されません.myMeshのStart()がゲーム開始時にメッシュを生成しているためです.
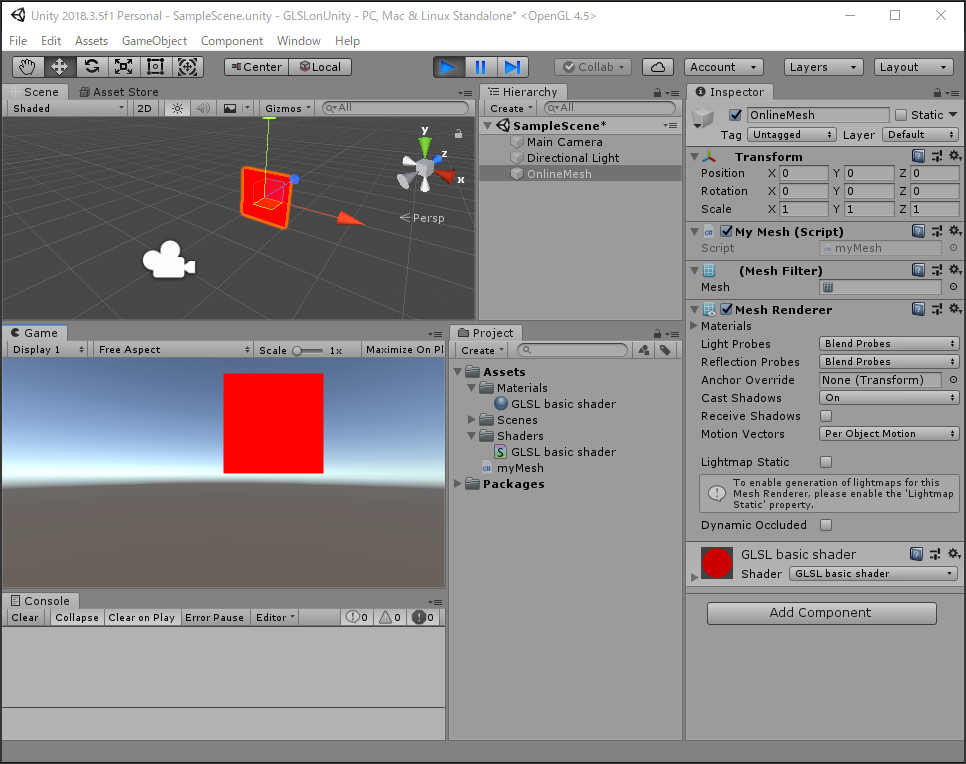
ということで,目標達成です!